
Key Feature
Get valuable insights into the latest kitchen equipment and tools for your baking and cooking needs.
Reviews and Recommendations
Discover top-notch products that will enhance your culinary experience and elevate your baking game.
Inspiration and Ideas
Find inspiration and unique ideas for your home bartending and baking creations, using gourmet ingredients and healthy alternatives.
Healthy and Delicious
Create guilt-free treats with our tips for healthy slimness in baking and cooking.
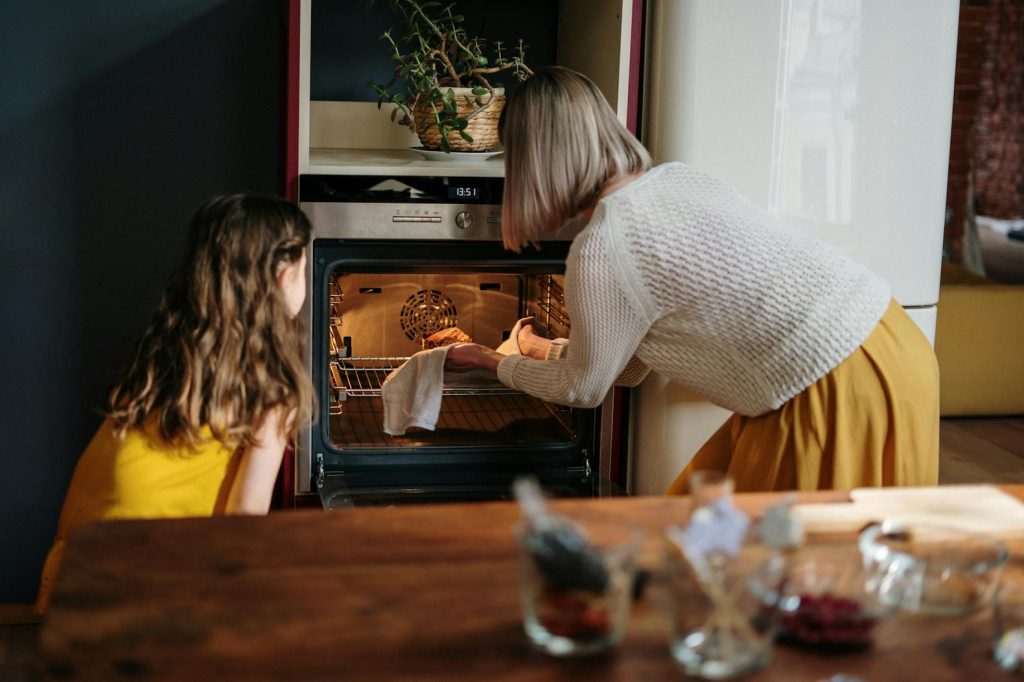
Kitchen Adventure Awaits
Your Ultimate Destination for All Things Kitchen-Related
Find everything you need for your kitchen adventures and more on I’m at home baking. From gadgets to gourmet ingredients, we have you covered.
Top-Notch Recommendations
Explore reviews and recommendations on top-notch products that elevate your baking experience.

Top-Notch Baking Products and Cooking Equipment
Discover reviews and recommendations for exceptional kitchen essentials.
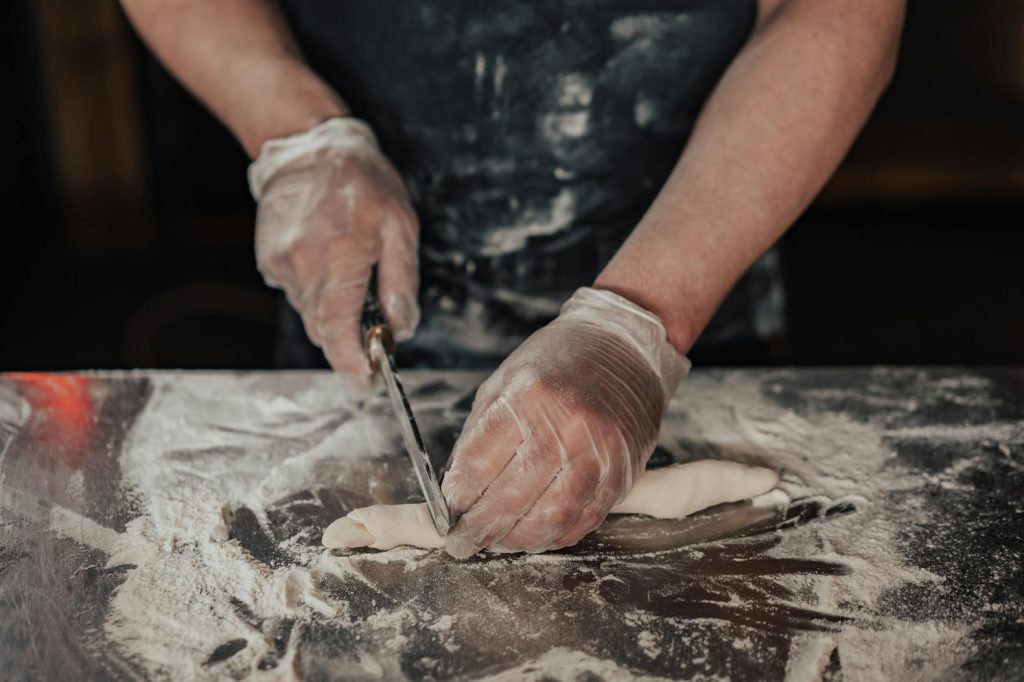
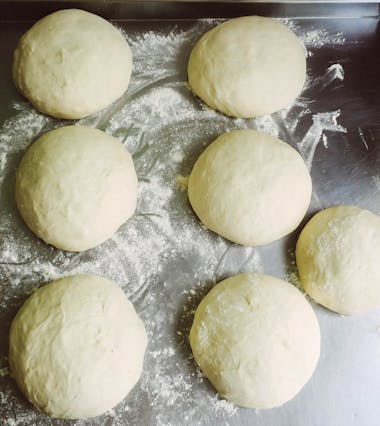
Essential Baking Equipment
Find the must-have tools and gadgets for every home baker.
Health-Conscious Ingredients
Explore high-quality, nutritious ingredients for guilt-free baking.
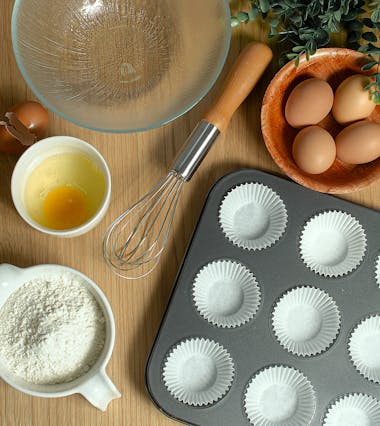
Gourmet Ingredients and Tools
Elevate your baking game with the latest and greatest gourmet options.
Professional Tips and Tricks
Learn from the pros and take your baking skills to the next level.
Discover Unique Inspirations for Home Bartending
Elevate your bartending game with our exclusive tips and tricks.
Mix Up Delicious, Guilt-Free Drinks
Indulge in our delicious cocktails without the added calories.
Healthy and Refreshing Ingredients
Discover a variety of fresh, natural ingredients for your drinks.
Revitalize with Tea-Based Cocktails
Experience the unique flavors of tea-infused cocktails.
Explore Our Favorite Spirit Infusions
Add a twist to your drinks with our hand-crafted spirit infusions.
Discover the Latest Deals and News on I’m at home baking
Stay up-to-date with the latest and greatest in the baking industry and never miss a deal on I’m at home baking.
New and Exciting Ingredients
Discover unique and delicious ingredients to spice up your baking recipes and elevate your dishes to the next level.
Healthy Baking Options
Explore healthy and slimming options for your baking needs, so you can indulge in guilt-free treats without compromising on taste.
Top-notch Baking Equipment
Find reviews and recommendations on the best kitchen gadgets and tools to make your baking experience easier and more enjoyable.
Bartending Inspiration for Home
Take your home bartending skills to the next level with unique and trendy drink inspirations from top restaurants around the world.
Ready to join our community and elevate your baking and cooking game?
Get Inspired in the Kitchen
Find endless culinary inspiration with our collection of recipes, guides, and tips.
Join Our Baking Community
Become part of our thriving community of home bakers and join us in creating delicious, guilt-free treats for a healthier lifestyle.
Explore Our Portfolio
Discover the amazing projects and creations from our talented community of home bakers.


Latest news
What role does technology play in UK kitchen bars?
Technology Integration in Modern UK Kitchen Bars Modern UK kitchen bars increasingly rely on technology[…]
Key features to consider when choosing a digital meat thermometer for flawless smoked meat
Understanding Digital Meat Thermometers Digital meat thermometers are BBQ essentials for achieving perfect smoked meat.[…]
How Can Optimal Storage Solutions Transform UK Kitchens for Space Efficiency?
Optimising Kitchen Space with Advanced Storage Solutions In many UK homes, limited kitchen space poses[…]
How do UK kitchen products enhance culinary efficiency?
Key Features of UK Kitchen Products That Promote Efficiency When exploring UK kitchen tools, one[…]
Unearth Top UK Ingredients to Elevate Your Gourmet Cooking Journey
Introduction to UK Gourmet Ingredients In the world of gourmet cooking, the choice of ingredients[…]
What role does interior design play in UK kitchen and bar success?
The impact of interior design on customer experience in UK kitchens and bars Interior design[…]
How Can a UK Kitchen Be Designed for Maximum Efficiency?
Optimising Kitchen Layouts for UK Homes The kitchen work triangle remains a cornerstone of efficient[…]
Which Kitchen Gadgets Enhance Your Cooking Skills?
Essential Gadgets to Improve Precision and Efficiency Precision kitchen tools and efficient cooking gadgets are[…]
Maximize your kitchen”s potential: discover the advantages of a retractable stovetop for enhanced counter space!
Overview of Retractable Stovetops Retractable stovetops are a fascinating innovation in the world of kitchen[…]
Uncover Top UK Brands of Luxury Electric Kettles: Essential Picks for Tea Connoisseurs
Overview of Luxury Electric Kettles in the UK In the world of tea connoisseurs, choosing[…]
How Do UK Restaurants Enhance the Dining Experience?
Core strategies UK restaurants use to enhance the dining experience UK restaurant strategies prioritize exceptional[…]
Discover Top Water-Efficient Dishwashers in the UK: Save Water and Slash Energy Bills!
Overview of Water-Efficient Dishwashers Water-efficient dishwashers are becoming increasingly popular due to their eco-friendly dishwashing[…]
Unleash your culinary creativity: the best fruit dehydrator for tasty homemade snacks!
Overview of Fruit Dehydrators If you’re considering fruit dehydrators to enrich your healthy eating habits,[…]
What UK kitchen products are must-haves for tea lovers?
Essential Tea-Making Appliances for the Modern UK Kitchen When it comes to UK kitchen appliances,[…]
How Can Utilizing Slim Kitchen Designs in the UK Maximize Space Efficiency?
Practical Strategies for Maximizing Space with Slim Kitchen Designs in the UK Maximizing space in[…]